I had another opportunity to use my Cricut and after having my Explorer machine for 4 years I was able to play with glitter vinyl! It’s amazing: so pretty and so easy. I cut out a wall decal and decided last minute to add a glow-in-the-dark mural on and around it. It came out better than expected.


I was asked (as a birthday gift to my step mother in law for their guest room) to help decorate the wall behind the Murphy bed. If you don’t know what a Murphy bed is, it’s a bed that folds down from the wall and can be disguised as a entertainment center with shelves or other components of a room that could fit a bed.
She had a pre-bought wall decal that was like a giant temporary tattoo. The instructions said to attach to wall and apply a good amount of water until the very thin plastic started adhering to the wall and away from the wet paper. I tried twice and it was a no-go. 👎
So plan B was to cut out a custom saying “Good Night, Sleep Tight” with vinyl. I chose Cricut 2003280 Glitter Vinyl, Black to go with the night sky theme. Joann’s was having a sale on Cricut supplies (which is great since their coupons usually omit Cricut products).
The font I used was Buttercup (free for personal use only) available on DaFont.com. Download here.
Here’s my layout in Design Space 
Link to the file in Design Space. Please only use for personal use. Send me a link of your finished project! I’d love to know if anyone likes my files so I can share more of them (when DS allows it of course).
Here’s the layout for cutting on a 12×24″ cutting mat. Making sure to choose “mirror”. The default for output puts each line on a separate mat. However, there’s now an option to choose they move to another mat and you can move them around or rotate them to maximize the paper or vinyl usage.
I used 2″ masking tape to transfer the glitter vinyl to the wall and it worked great! It’s good to overlap the layers of masking tape starting from the top down. Therefore, when you adhere it to the wall it’s easier to remove the bottom masking tape row first and work your way up.

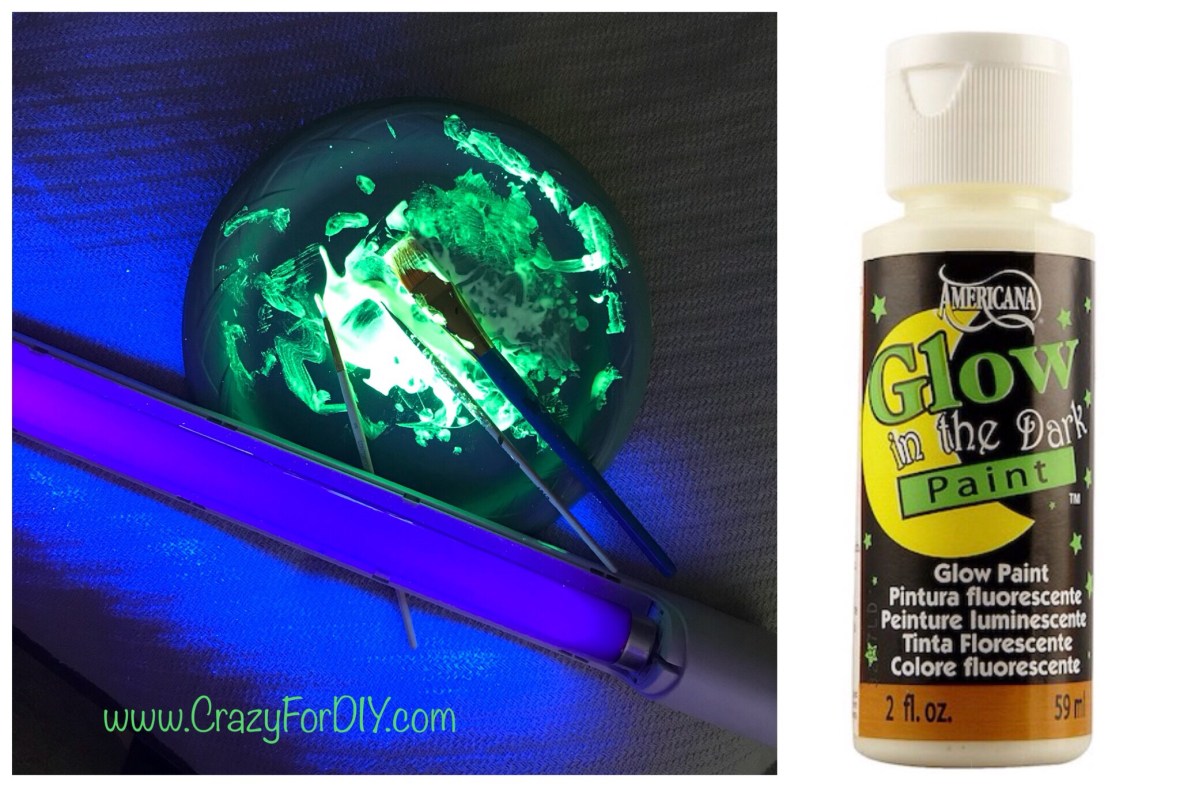
It seemed like it needed something more than the words. I thought it would be cool to paint a sky scape that you can only see at night and best with a black light. I always thought black lights were fun growing up. This is the glow in the dark acrylic paint I used: DecoArt DS50-10 Glow-in-the-Dark Paint, 4-Ounce.
I googled some enchanted moon star artwork and sketched out a few ideas. It’s very helpful to draw on the actual image using the markup feature on my phone. I did the same thing for my rainbow mural project.


To paint with the glow in the dark paint I closed the curtains and plugged in a black light. Took about an hour starting with the moon, then the clouds, and then the stars. So fun!
I love that during the day you can’t see any of the paint. It only has a little bit of semi gloss against the original wall. The glitter vinyl has such a subtle shimmer detail 💖

I have to say this was a fun impromptu mural project. I think if I did it again I’d choose an even more powerful glow paint!
My sons will definitely enjoy this the next time they get a sleepover at Granny and Grandpa’s house!
Thanks for reading! Mel 🙂
* This content uses referral links. Read my disclosure policy for more info
